
Are you a beginner at baking bread? Making rustic bread doesn’t require much work and is perfect for beginners. Here’s the easiest way to make rustic bread at home!
Bread is something we all enjoy, and nothing beats freshly baked bread straight from the oven. There are many different types of bread, and the process differs. But have you heard about rustic bread dough?
There are three different ways to make the dough crispy and tasty for your table. It does not need a master’s skill in baking or baking tools such as spatulas and rolling pins, nor does it require the use of a stand mixer. Sounds easy, right? Because it is.
If you are excited to learn new skills in baking and prepare something new for your family, just keep on reading.
What Is Rustic Bread Dough?
Many people use the term “rustic bread” to describe different types of bread that they like. But when I think of “rustic bread,” I think of bread that has a thick crust, an open texture, and a great taste.
To make it, you only need flour, water, and salt. A sourdough starter or “poolish” starter can be used as a leavening agent.
This rustic-style Spanish bread is made using an “old-fashioned” bread recipe. It’s the kind you’ll find on (grandmother’s) kitchen table in villages all around Spain. Long fermentation is usually required to obtain a great flavor in rustic or crusty bread.
Check out the video below!
How To Make Rustic Bread Dough Step-by-Step
Preparing a “poolish” is the first step in making Rustic bread dough.
Ingredients For “Poolish”
- 1 cup of all-purpose flour or 150 grams
- ⅔ cup of room temperature water or 150 grams
- 1 small pinch of yeast
Process
- Add 2/3 cup of room temperature water and 1 small pinch of yeast.
- Now add 1 cup of all-purpose flour.
- Mix it and stir them.
- Let it sit on the counter for 4 to 24 hours.
A “poolish” that has been well-aged gives us a darker and crispier bread, as well as a bread that lasts longer. If you let the “poolish” develop for 24 hours is better. But it can also work well if you let the food sit for four hours before using it. However, the more time it has, the more flavor.
After about 4 to 24 hours, you can start making the dough for the Rustic bread and baking it.
Ingredients For Rustic Bread Dough:
- 280 grams or 1 and ¼ cups of warm water at 98 degrees Fahrenheit
- 2 grams or ½ teaspoon of yeast
- Poolish
- 350 grams 2 or ¼ cups of all-purpose flour
- 50 grams or ⅓ cup of whole wheat flour
- 10 grams or 1.5 teaspoons of Kosher salt
Procedure:
- Add 280 grams of warm water, 2 grams of yeast, and all poolish to a stainless steel bowl.
- Using your hands, combine everything. It’s a lot easier if you use your hands.
- Then combine 350 grams all-purpose flour, 50 grams whole wheat flour, and 10 grams of salt in a mixing bowl.
- Using a firm spoon, blend the ingredients.
- Squeeze, rotate and repeat for 60 to 90 seconds after wetting your hands with water.
- Wrap the bowl with plastic and let it sit for 30 minutes.
- After 30 minutes, wet your hands and tuck and fold method 8 to 10 times until it forms into a tucked round ball.
- Repeat the folding process 6 to 8 times after 30 minutes for a well-developed, strong dough.
- Wrap it in plastic and leave it to ferment for another hour.
After a two-hour whole fermentation procedure, the dough should be bubbly, lively, and buoyant. The loaf is now ready to be shaped and baked in three different ways!
Easiest Way to make rustic bread
Step 1: Flip the dough out of the bowl into a lightly floured work surface.
Step 2: Flour the top of the dough.
Step 3: Grab a thin sheet of floured parchment.
Step 4: Cut the dough into two parts using a dough scraper or a well-floured dough knife.
Step 5: Shape the dough by simply tucking it under and propping it up to form a slightly round and rectangular shape.
Step 6: Preheat your oven at 525 degrees and spray the loaves with a little bit of water.
Step 7: Throw the sheet tray inside the oven and bake it for 20 to 25 minutes.
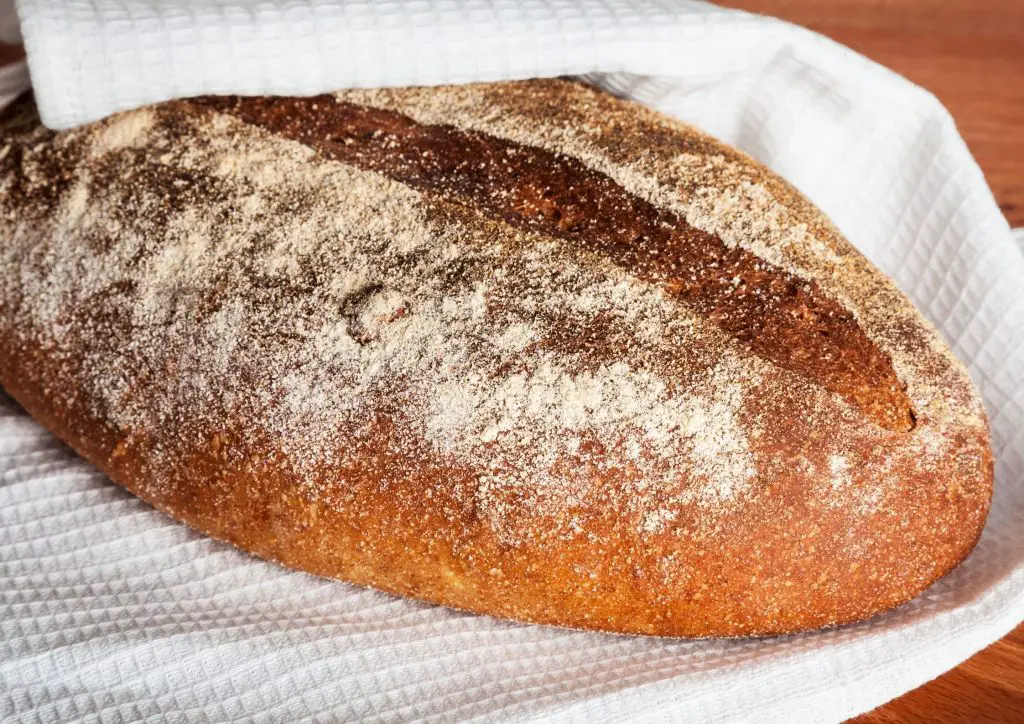
Things will get a brownish color and become slightly crusty. And you can enjoy your rustic bread in the simplest way possible—just a small bit of work.
Slightly More Complex Way
Step 1: Set up two pieces of dough on a floured sheet tray and cover with another sheet tray. Let it sit for 30 to 40 minutes.
Step 2: Let your cast iron Dutch oven pre-heat into a 525-degree oven.
Step 3: After the Dutch oven is well pre-heated, grab the sheet tray with dough and cut the parchment half.
Step 4. Give the loaves a quick slash, lift the parchment paper, and loaf into the Dutch oven.
Step 5: Cover and place it in the oven at 500 degrees for 12 minutes.
Step 6: After 12 minutes, remove the lid of the Dutch oven and turn the temperature of the oven down to 485 degrees for an additional 12 to 15 minutes.
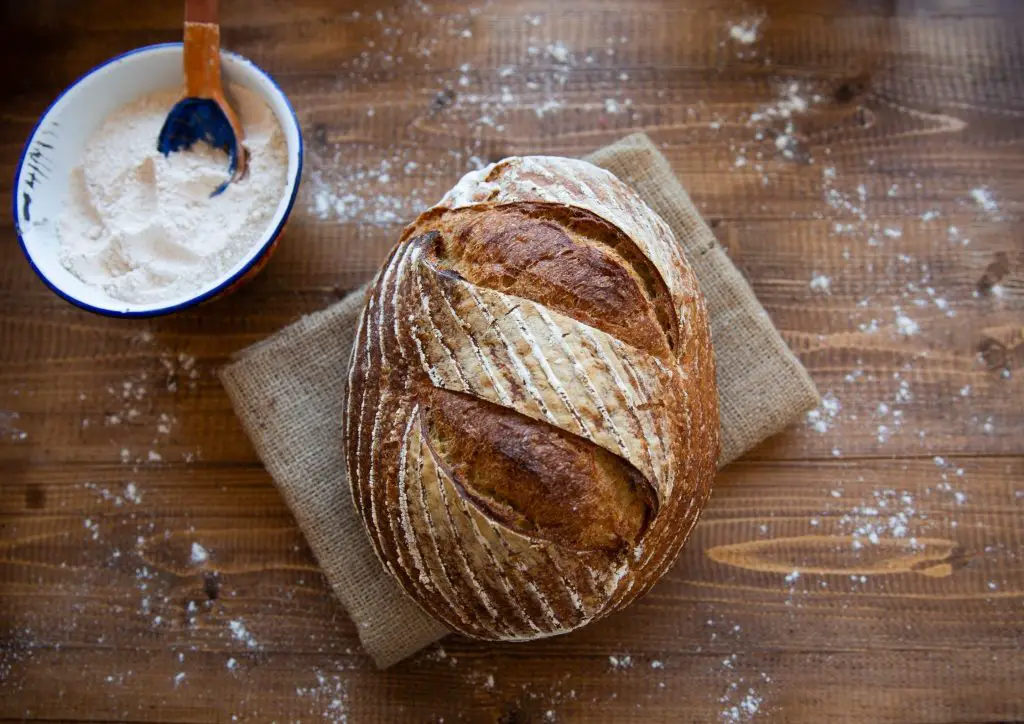
And voila! You can now enjoy a very crusty and dark, almost reddish loaf. The second method in the Dutch oven, you can get a much interesting crust in a more well-risen loaf.
Big Dog Bowl

Step 1: Flip the dough on a well-floured surface and shape it. Grab a side of it, pull it out and fold it back. Repeat the motion and work your way around the dough.
Step 2. Once the things are stretched up and tucked up into a ball, grab the opposing sides and do a crisscross tuck, repeating it 3 to 4 times.
Step 3: Flip the dough over and round things off using your hands. Create tension and rotate the loaf keeping the seam in the center and bottom.
Step 4: Flip the shaped dough into a nine-inch floured poofing basket. If you don’t have a poofing basket, you can use a medium-size stainless steel bowl. To do that, grab a tea towel and fold it twice and flour the tea towel.
Step 5: Let it sit on the counter for 30 to 50 minutes.
Step 6: After 30 to 50 minutes, the dough is buoyant and risen. Then, flip the whole dough into your hand and carefully lower it into the Dutch oven.
Step 7: Scoured the top of the dough to open and rise to its full potential in the oven.
Step 8: Set your oven to 485 degrees for 18 minutes, covered with a lid. And an additional 25 to 25 minutes uncovered.
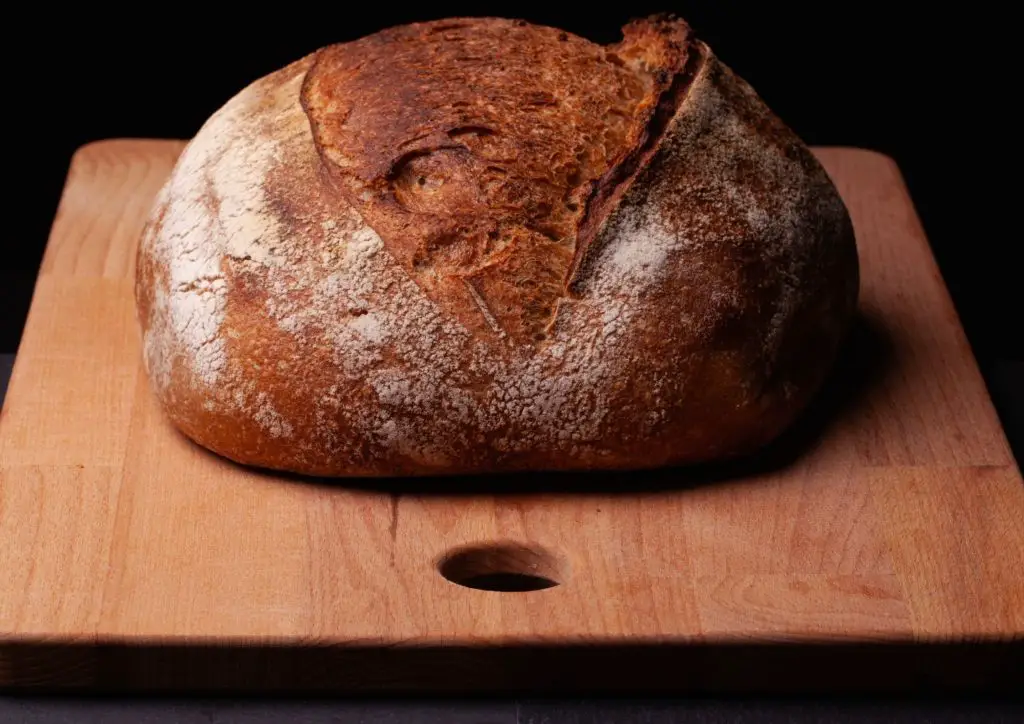
After about 40 minutes total, your loaf looks brittle, crisp, and rustic. And yes, you can hear it sing right out from the oven!
Here is a detailed video of the easiest way to make rustic bread:
People Also Ask
Should Rustic bread be refrigerated?
Bread should never be refrigerated. When it’s cold, the starch molecules in bread immediately re, which makes the bread go stale much more quickly.
Where should Your rustic bread be kept?
Bread is best kept in a cool, dry place in the kitchen. If they aren’t on the counter, they should be in a cabinet or a deep drawer.
Is it good for diabetics to eat Rustic bread?
No, because there is too much sugar in it. And way too many chemicals that keep food from going bad. And it’s just one of the things that most people with diabetes have to keep an eye on.
Conclusion
You may have freshly baked rustic bread made from your oven and dutch oven in that simple way. A friendly reminder, when you remove your Dutch oven from the oven, it may be extremely hot, so use potholders.
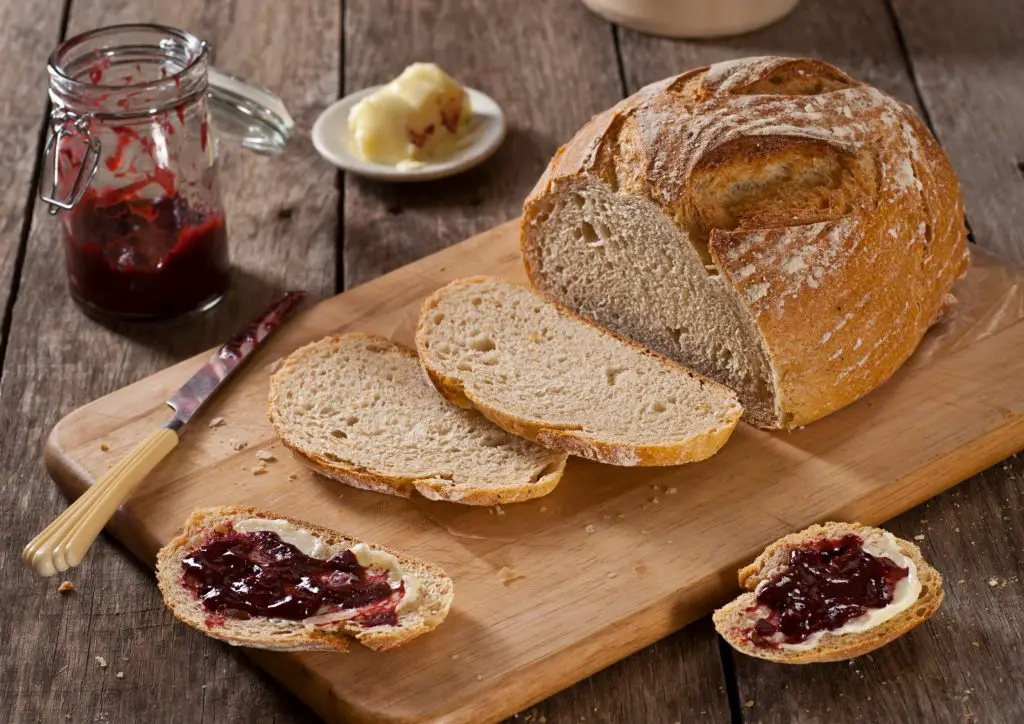
The first loaf has a somewhat crispy crust and a good flavor. For almost no effort, this bread is a total winner. The second loaf, which was baked in a Dutch oven, has a beautiful crumb and tastes so good. And lastly, the big chunk of bread is crusty, creamy, and delicious!
You and your family deserve tasty, easy-to-make bread. So, which of the three methods do you want to try first? Let me know what you think in the comments!
