Overuse of your knife will dull it over time. The traditional way of sharpening a knife is to use a whetstone. So that’s it for the steps to sharpening your knife with a whetstone.
Cutting into food with a dull blade requires more pressure and can easily slip off into your finger. To avoid accidents, you must sharpen your knife regularly.
Sharpening your knife can be done in a variety of ways. We’ve also put together a comparison of the different sharpening tools.
But we will just focus on the steps to sharpen your dull knife with a whetstone.
How to Choose The Best Whetstone?
It’s not as easy as 1,2,3 when purchasing a whetstone. Before you go out and buy one, you need to figure out what grit you’ll need to sharpen your knife. Let’s start by identifying the differences in grit.
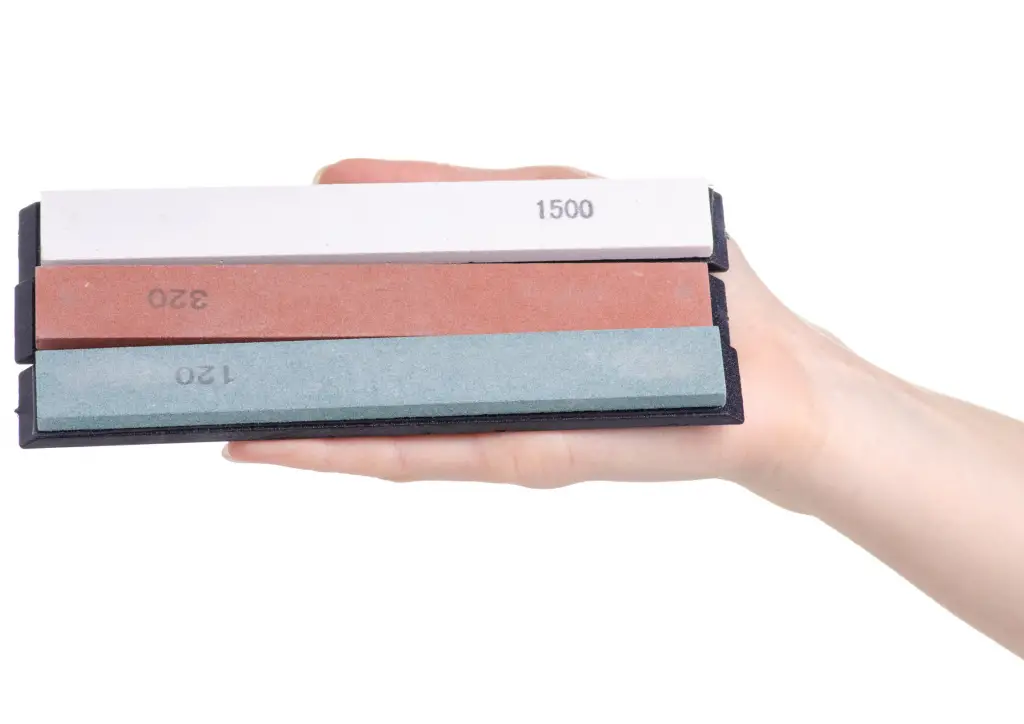
Natural or synthetic whetstones are available. It’s also available in a variety of grits. When choosing grit, you need to know these:
- Knives with chipped edges are usually repaired with grits less than 1000.
- Sharpening dull knives with 1000 to 3000 grit is common.
- Finishing stones, ranging from 4000 to 8000 grit, are used to sharpen your knife edge.
If you’re cutting meat with your knife, it’s ideal to stop between #4000 and #6000 grit so the edge doesn’t break on the muscle.
What Material Do You Need?
Before going into the real thing, you have first to identify the material needed and prepare it.
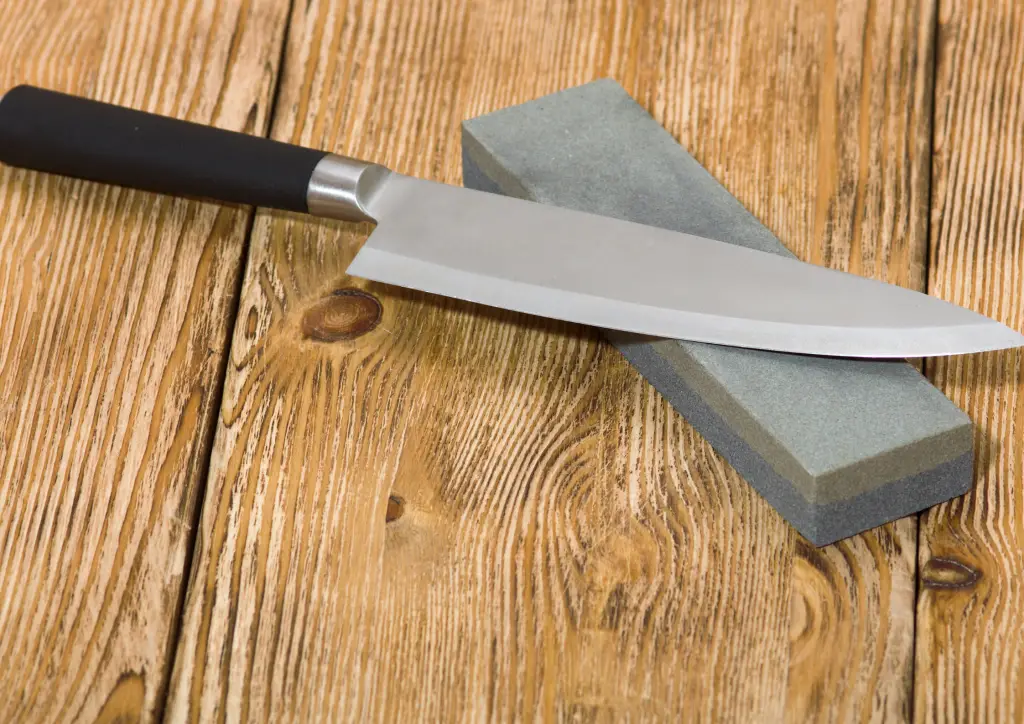
To sharpen your knife with a whetstone, here are the materials you’ll need:
- Whetstone (Depending on your preferred grit)
- Stone holder
- Enough lighting and space
- Water
- Clean cloth
- Dull knife
- Honing steel
What Are The Steps?
It may take some time to get used to using a whetstone. But once you get the hang of it, your blades will be razor-sharp.
So, without further ado, here are the steps to using a whetstone to sharpening your knife.
- Soak your whetstone in water.
Before using it, you have to soak it in the water for at least 5 minutes or more as it absorbs moisture. If you see bubbles floating in the water after soaking it, wait for them to slow down before taking it from the water.
- Place it on the stone holder.
Place your stone above the stone holder to prevent it from sliding. You can use a towel if you don’t have an available stone holder.
- Start the first stroke with a lower-grit stone.
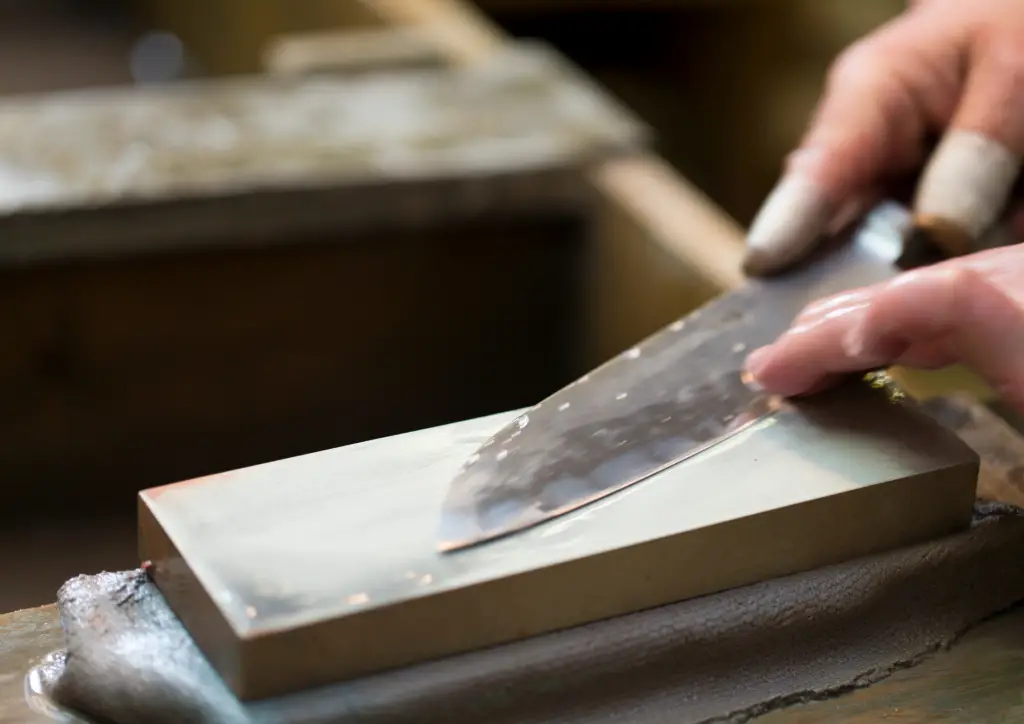
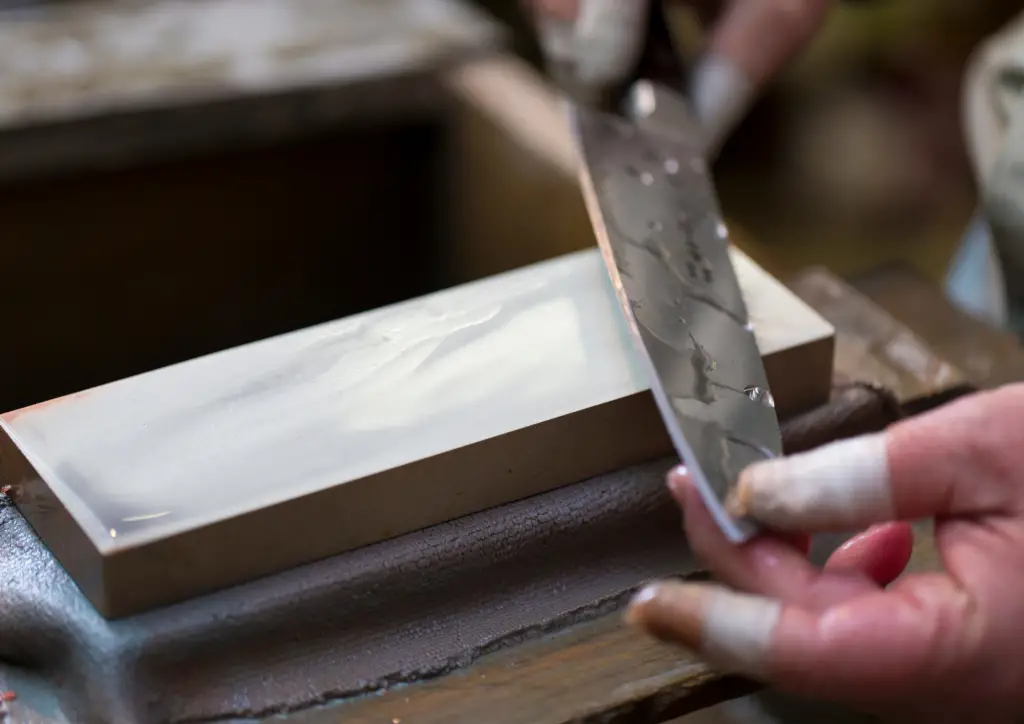
Start with the stone with the lowest grit. Grasp the knife by the handle and hold the knife’s edge at a 15-20 degree angle against the stone.
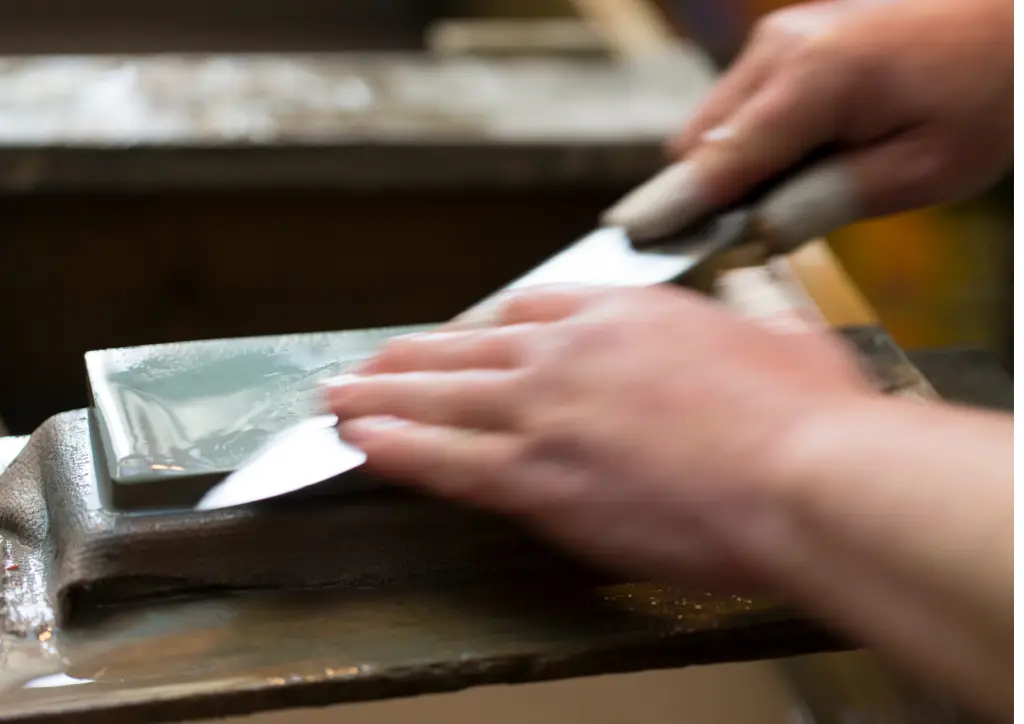
- Slide the knife over the stone
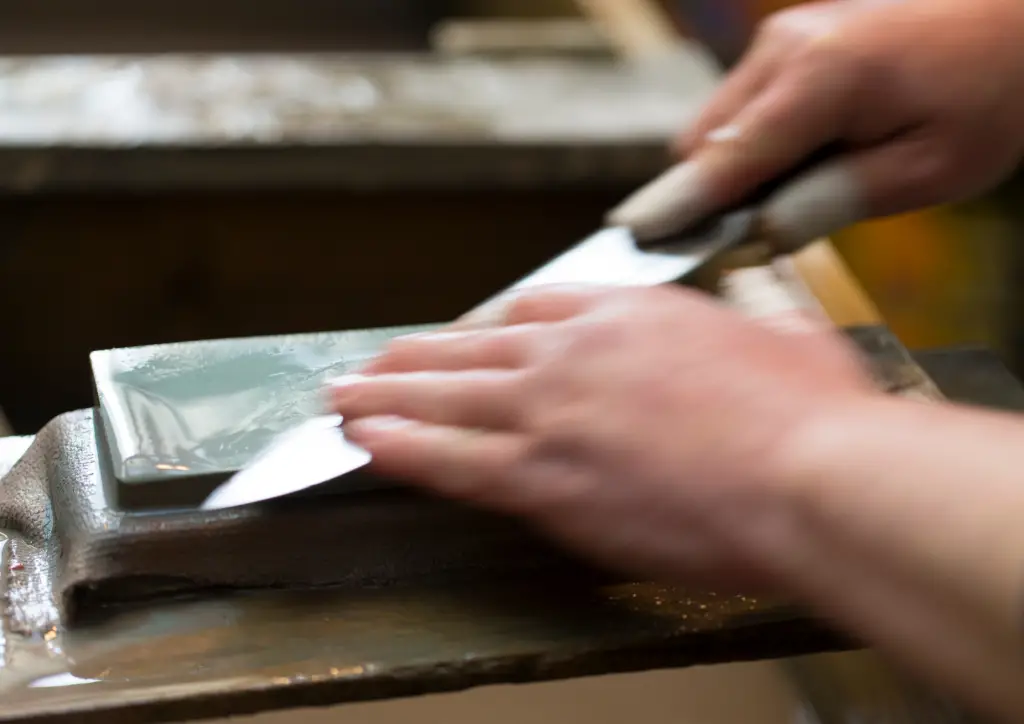
Slide the knife forward and across the whetstone with gentle pressure, covering the entire length of the blade. Maintain the same angle and repeat at least ten times on the same side of the blade.
- Repeat on the other side of the blade.
Repeat the process on the other side of the blade by flipping the knife over. Doing ten strokes on each side will do.
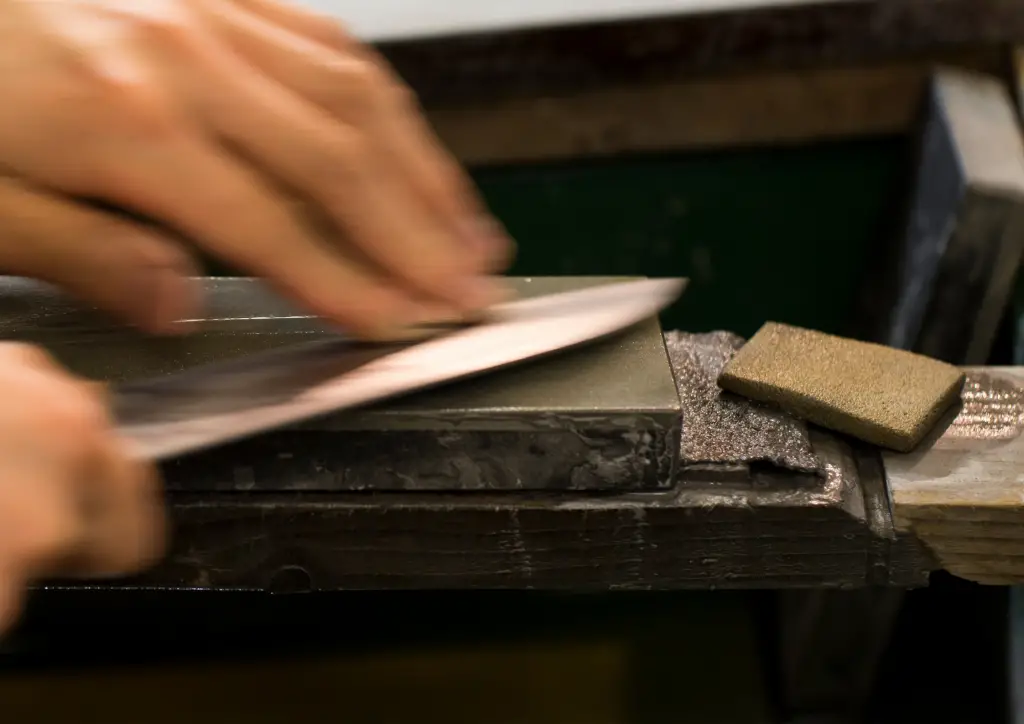
- Hone and clean up.
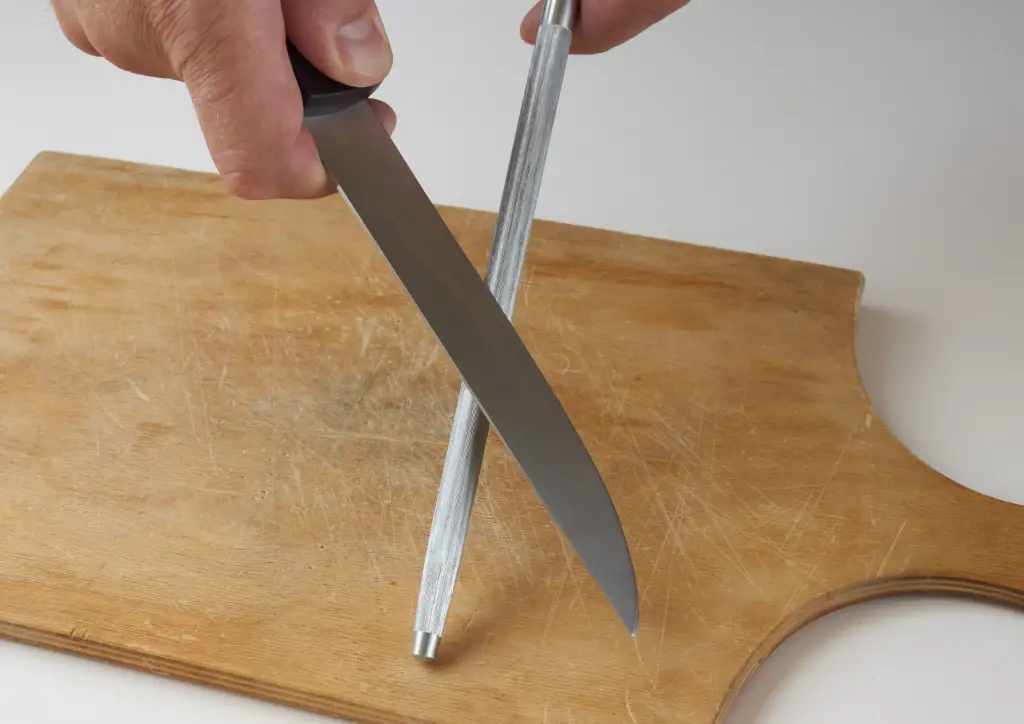
Finish by honing the knife after sharpening both sides. Pass both sides of the blade through the honing steel 2-3 times at the same angle as you did with the whetstone. It will aline and smooth out the blade. Finally, rinse it with water to eliminate any remaining steel particles before drying with a clean cloth.
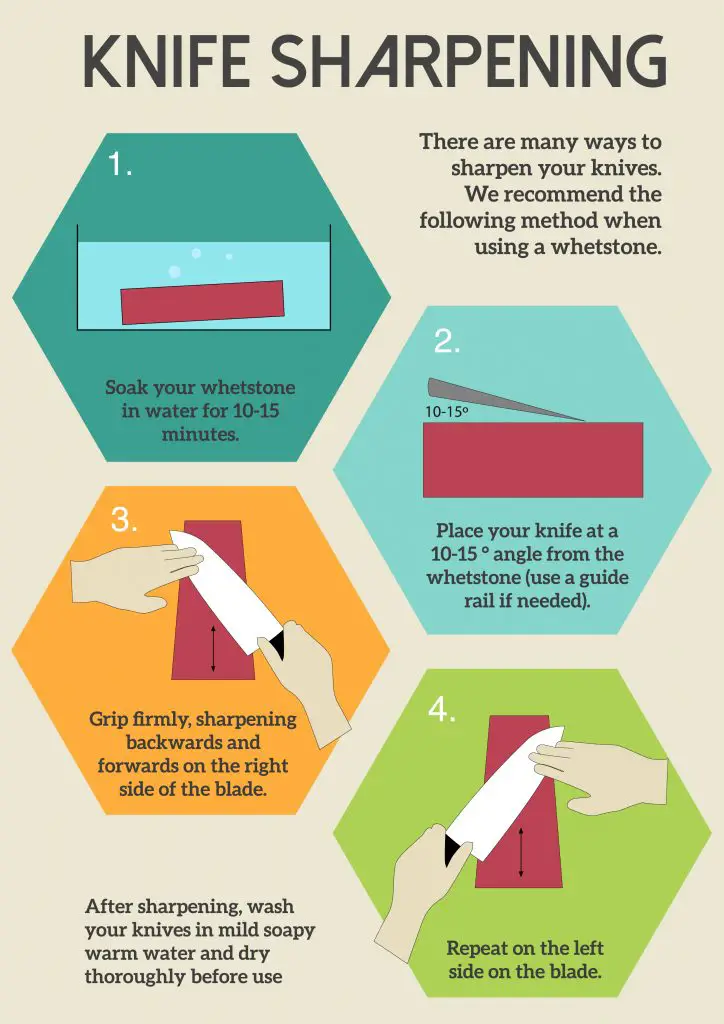
Here is an infographic from Grunwerg that shows a summary of how to sharpen your knife with a whetstone:
Watch the video below for a more detailed demonstration of sharpening with a whetstone:
How to tell if your knife is sharp enough?
After preparing the materials, you’ll need to sharpen your knife, and following the steps to do so, you’ll be ready to go. Now you can see if it’s sharp enough. But how will you put it to the test?
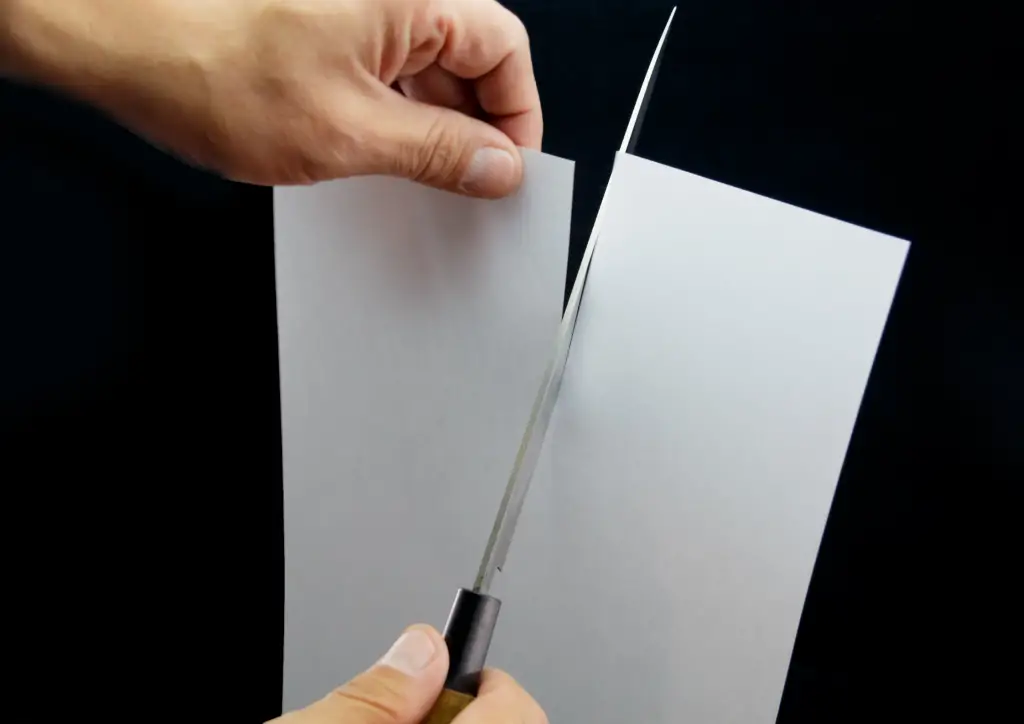
The best and most easy method is to use it while preparing your vegetables. You can also try cutting a piece of paper with your knife to see if it works.
When the burr is gone, you’ll know your knife is sharp enough. It’s tough to see, but your hands can easily feel it. By moving your finger from the knife’s spine to the edge, you may feel the burr.
people also ask
How long do stones for sharpening last?
After about five to seven uses, most stones will need to be leveled. But for normal use around the house, a whetstone should last 5–10 years without any problems. But a lot of it depends on what’s in the story.
Should I put water or oil on my sharpening stone?
You can use oil or water on a whetstone before sharpening to keep it from getting clogged up with small pieces of metal, which makes the abrasive grains much less effective at sharpening. Water is less messy, but oil is better at preventing the stones from sticking together.
Is a whetstone better than a sharpener?
There are many tools that can give dull blades back to life, yet chefs and experts agree that a whetstone is the best one. When you sharpen a knife, you take away some of the metal from its edge. Over time, this wears down your knife’s blade.
Conclusion
Knives are one of the most used items in the kitchen due to our daily wear and tear. Over time, they become dull and require sharpening. Sharpening a knife with a whetstone is a traditional method.
Whetstone is available in both synthetic and natural forms. They also come in a variety of grits. If you have chipped edges, it can be restored with less than 1000 grit. 1000 to 3000 grit is commonly used for dull knives, while 4000 to 8000 grit whetstones are used as finishing stone.
When sharpening with a whetstone, you’ll only need a few items, the whetstone, water, cloth, and a dull knife. It’s essential to soak the whetstone in water for at least 5 minutes and keep your knife at a 15-20 degree angle against the stone.
You can test a knife’s sharpness by cutting a vegetable or a piece of paper after you’ve completed all of the sharpening methods. Sharp knives will not only save you time in the kitchen when making food, but they will also prevent accidents.
